Installation
Once you've completed all the prerequisites, you can go ahead and start to install Postal.
Configuration
Before you can start Postal, you'll need some configuration. The repository you cloned includes a tool to automatically generate some initial configuration files.
Run the command below and replace postal.yourdomain.com with the actual hostname you want to access your Postal web interface at. Make sure you have set up this domain with your DNS provider before continuing.
postal bootstrap postal.yourdomain.com
This will generate three files in /opt/postal/config.
postal.ymlis the main postal configuration filesigning.keyis the private key used to sign various things in PostalCaddyfileis the configuration for the Caddy webserver
Once generated, you should open up /opt/postal/config/postal.yml and add all the appropriate values for your installation (database passwords etc...).
/opt/postal/config as /config so any full directory paths mentioned in postal.yml will likely need to start with /config and not /opt/postal/configInitializing the database
Once you've added your configuration, you need to initialize your database by adding all the appropriate tables. Run the following commands to create the schema and then create your first admin user.
postal initialize
postal make-user
Running postal
You're now ready to actually run Postal itself. You can go ahead and do this by running:
postal start
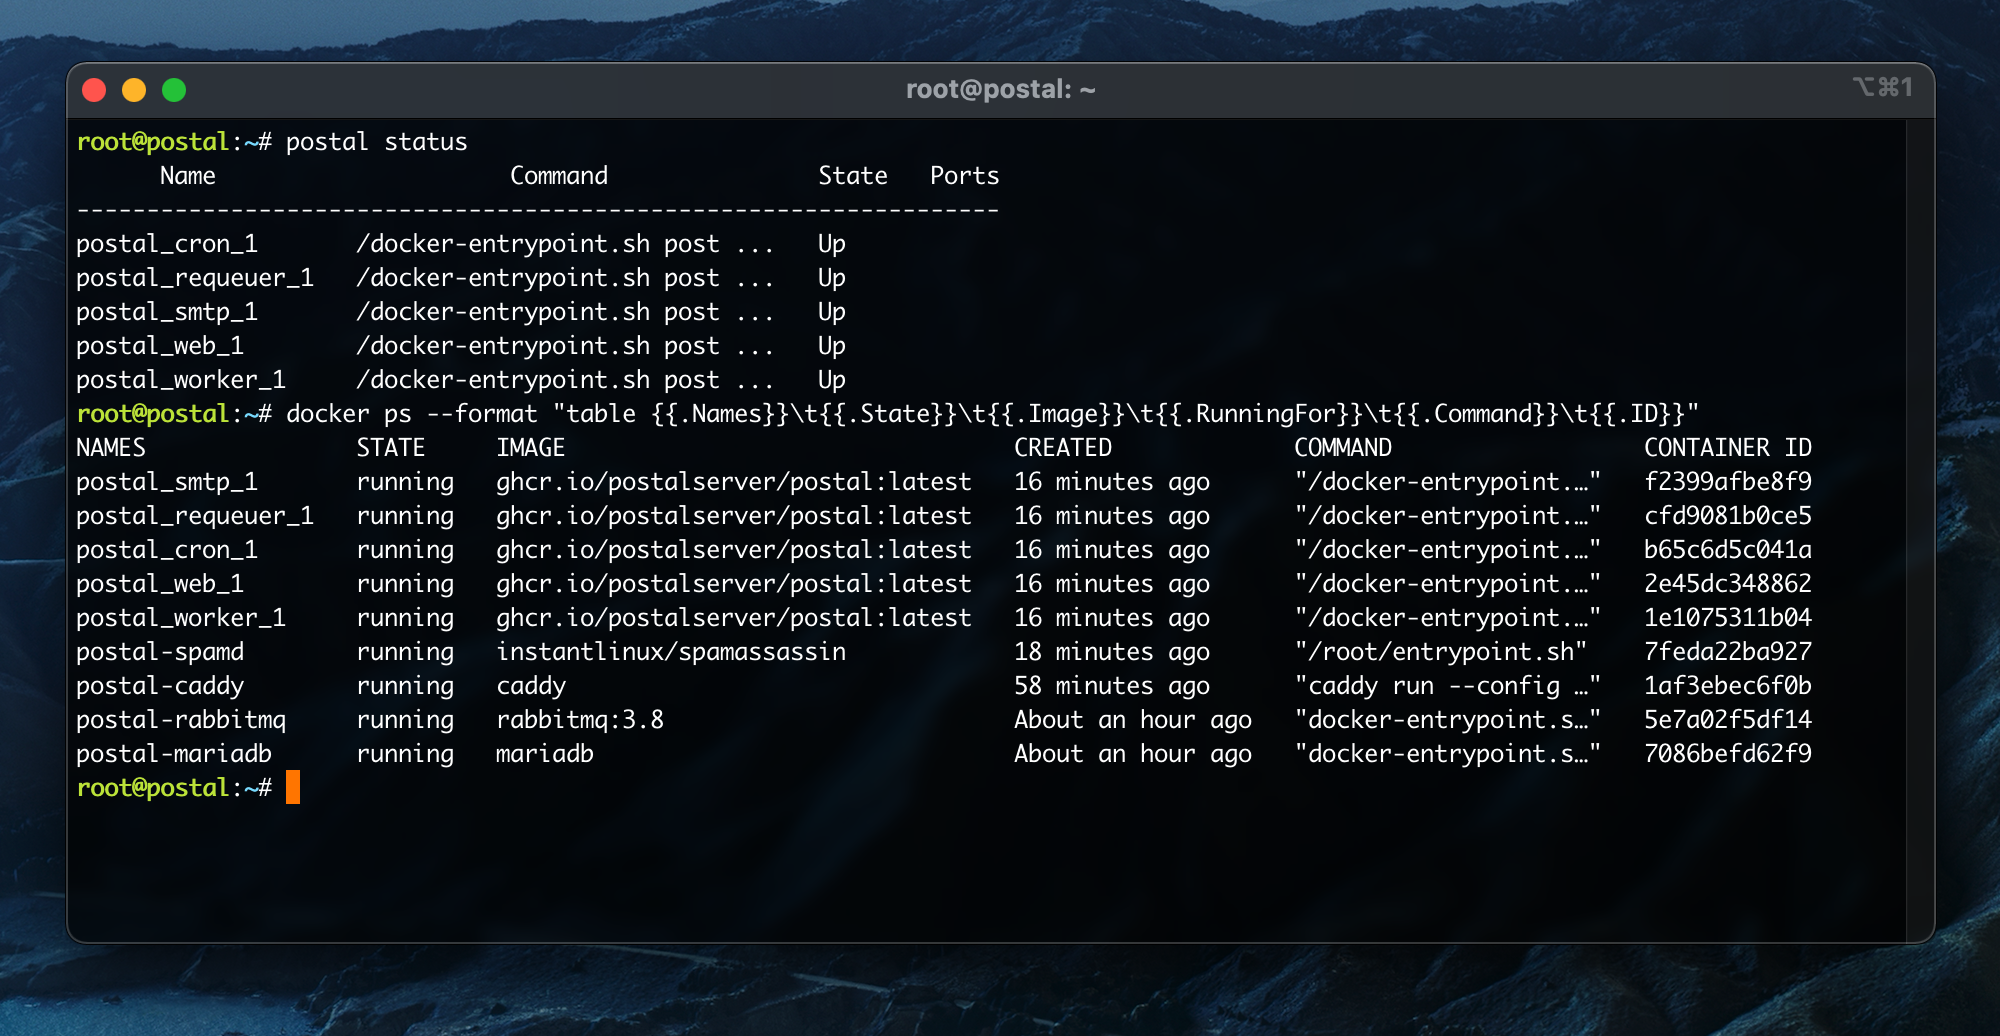
This will run a number of containers on your machine. You can use postal status to see details of these components.
Caddy
To handle SSL termination and all web traffic, you'll need to configure a web proxy. You can use anything that takes your fancy here - nginx, Apache, HAProxy, anything - but in this example, we're going to use Caddy. It's a great little server that requires very little configuration and is very easy to set up.
docker run -d \
   --name postal-caddy \
   --restart always \
   --network host \
   -v /opt/postal/config/Caddyfile:/etc/caddy/Caddyfile \
   -v /opt/postal/caddy-data:/data \
   caddy
Once this has started, Caddy will issue an SSL certificate for your domain and you'll be able to immediately access the Postal web interface and login with the user you created in one of the previous steps.